![]()
Time
![]()
Complexity
![]()
Cost
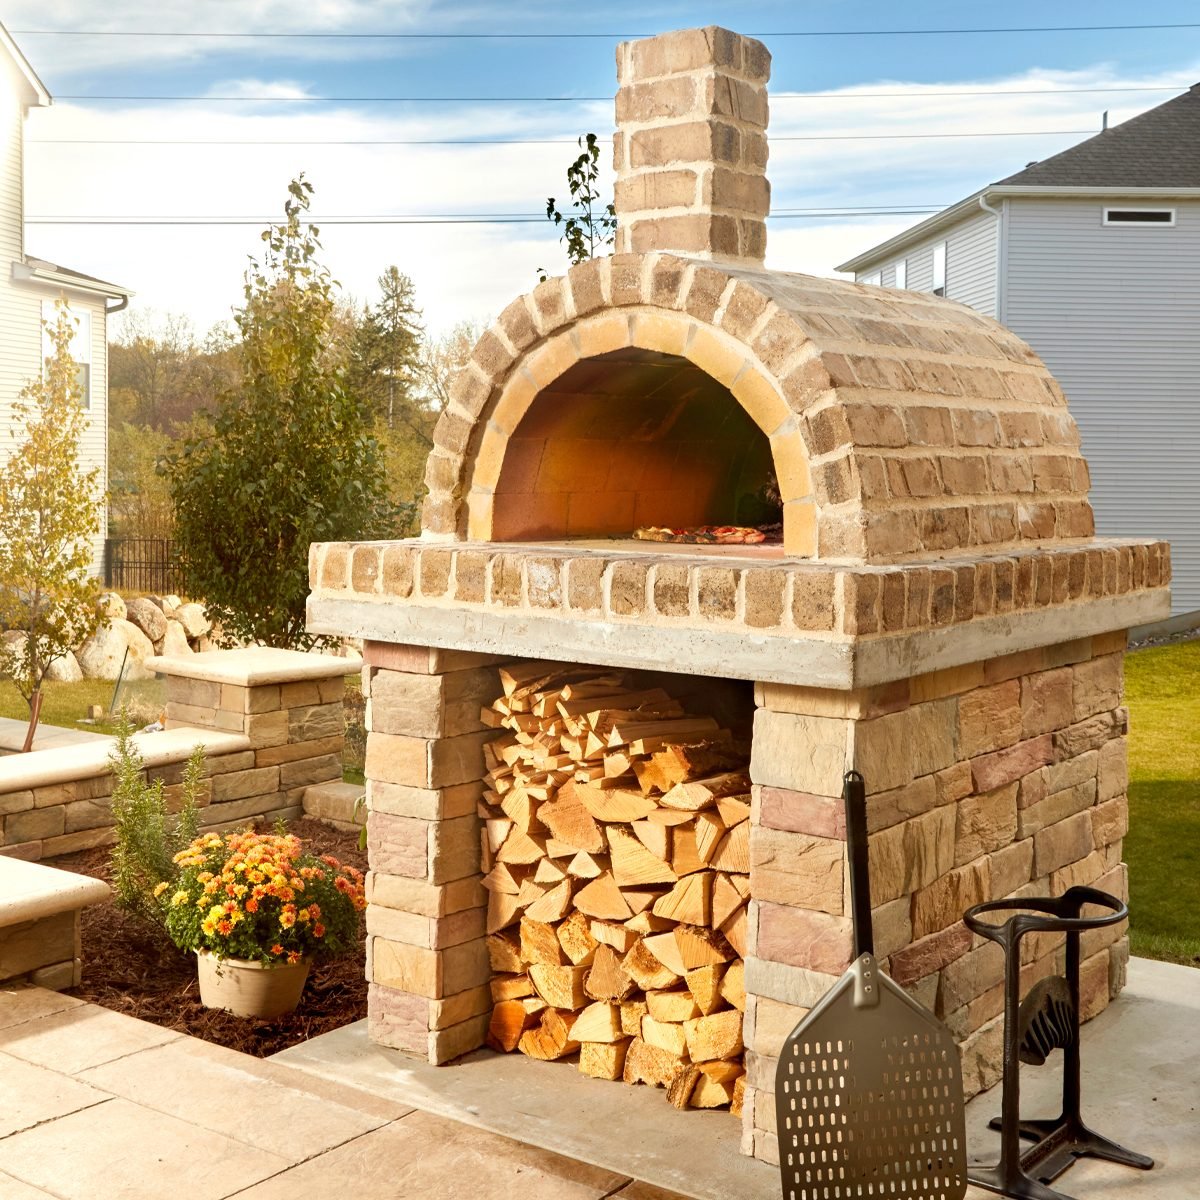
If you love outdoor cooking and entertaining, this wood-fired pizza oven might be just what your backyard needs.


Family Handyman
If you love backyard cooking and entertaining, a brick pizza oven might be just what you need.
Granted, this isn’t a project for someone with no DIY experience. But if you have a little skill, an attention to detail and a helper, you can build this brick backyard pizza oven for a fraction of what it would cost to have a professional build it for you. After all, you’re not building a house.
And it’s more than just a pizza oven. Once you’ve mastered controlling the temperature, you can bake anything you’d normally make in a conventional oven. Here’s everything you need to know about outdoor pizza oven kits.
Family Handyman

Family Handyman

Courtesy Dick DeGrood
Dick DeGrood, president of Twin City Brick & Stone, has been in the masonry supply industry for more than 46 years. His company supplies masonry material for projects in large commercial properties, apartment buildings, retail stores and luxury homes, as well as for small DIY jobs like wood-fired outdoor ovens. DeGrood built himself a wood-fired oven more than 20 years ago that continues to function as well as the day it was built.
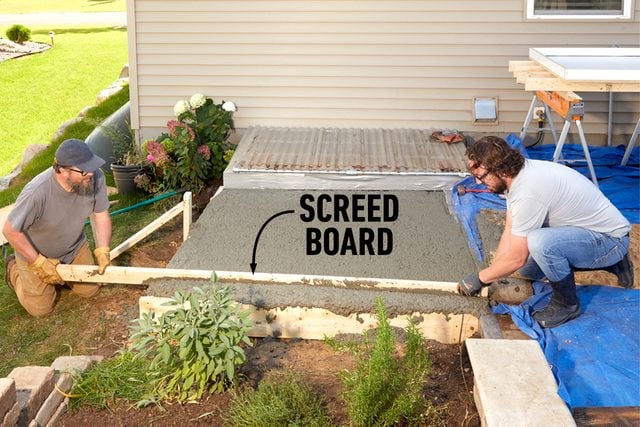
Build a form for the concrete pad with 2×10’s. Our pad is eight inches thick, so we spread class V gravel in the form, leaving eight inches to the top. Tamp down the base to compact it. Make sure you brace and slope your form so it sheds water.

Family Handyman
Pour concrete mix into the form, then screed off the top. Once the concrete begins to set, trowel the surface and tool the edges. Allow the concrete to cure for a day before removing the form.
Family Handyman

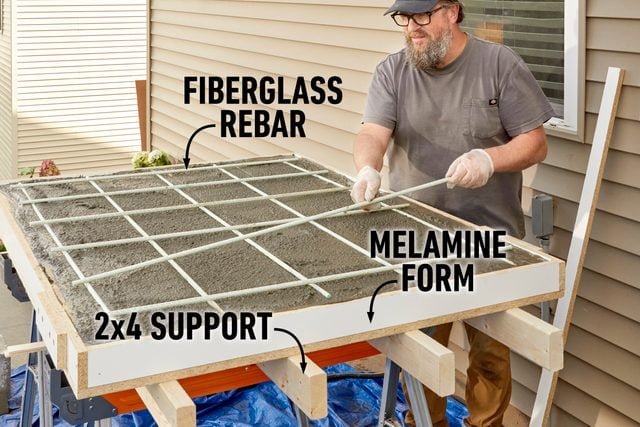
Build a form for the capstone with melamine. Set the form on sturdy sawhorses with 2×4’s underneath for full support. Apply a bead of silicone at the bottom corners of the form. Once the silicone dries, fill the form with lightweight countertop concrete mix. We used fiberglass rebar here to keep the weight down and avoid rust stains.
We set the rebar grid and then pressed it into the concrete. When the concrete begins to harden, trowel the surface and tool the corners. The capstone is only three inches thick, so we let it cure for several days before removing the form.
Family Handyman
Lay out the outline of the base on the pad and set the first course of concrete blocks. Because our pad slopes, we set the first course of block in mortar. That way we could build up the back enough to make our base level.
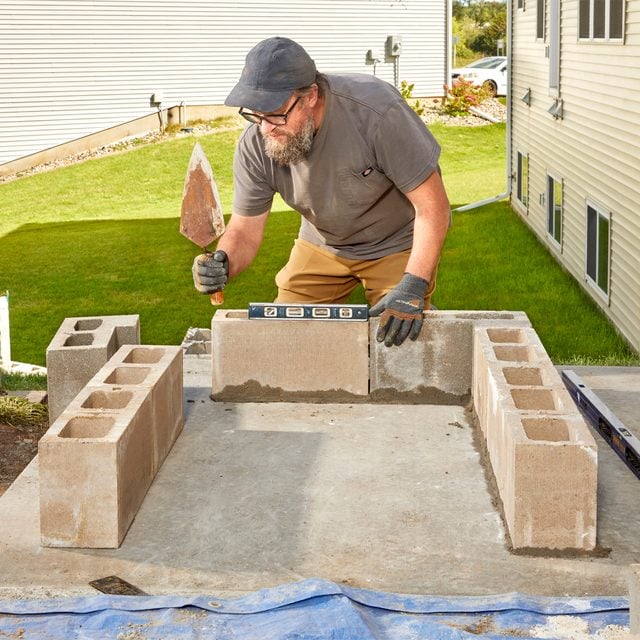
Family Handyman